Pallet Workshop Table
In the Beginning
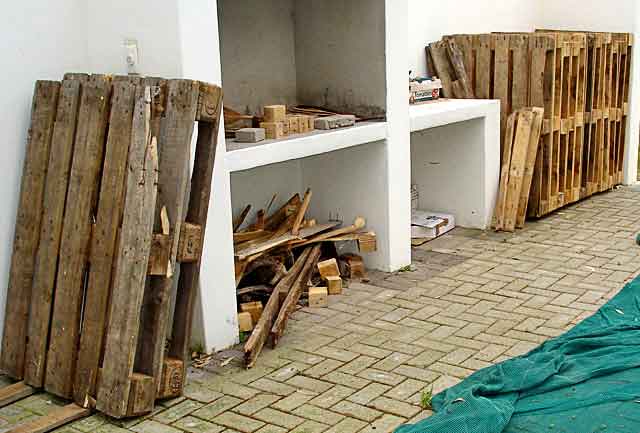
Your pallet workshop table all starts out with reclaimed wood, pallet wood in fact. Now you may think it’s more work than it’s worth. And the part that makes it not worth the effort is getting out the nails. I know, in getting out the nails, you break more wood than you save. Well, with my method, you eliminate the nail pulling so the previous problem won’t stop you building your own pallet workshop table this time.
For people out in the bush or back-of-beyond, having bug-proof wood to use costs a lot of bucks, has to be cut for transport and a lot more. Most large cars can fit a pallet in the boot/trunk. The main point is, most of the better pallet wood is treated against any bug/ant infestation. For your pallet workshop table, this is both good and bad. Good, because your pallet workshop table will last for years, unmolested by insects. The bad part is, it will poison you when you work the wood. Here you need a mask. Woodworkers should all have one anyway. The best common mask is a (replaceable) charcoal filtered mask used for spray painting cars, mostly obtainable from a farmers supply store.
I don’t have to tell you where to get pallets from. Although, my best tip for you is always look for the pallets that travel by sea. They are all treated against insect infestation and are the larger type. The poison used is a stomach poison. Play carefully with this stuff or you can find yourself feeling enough under the weather, to kill your pallet workshop table project. I have had people say they have been working pallet wood for years without a mask. That wood is obviously not treated and your pallet workshop table project may end up being bug/ant food one day – take note, many pallets are not treated.
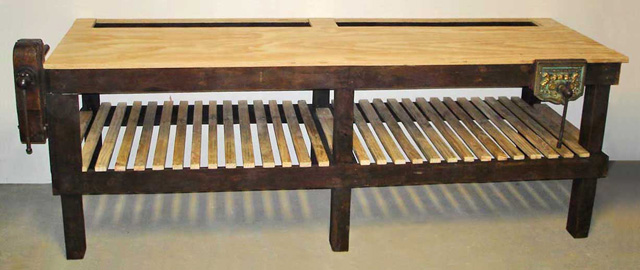
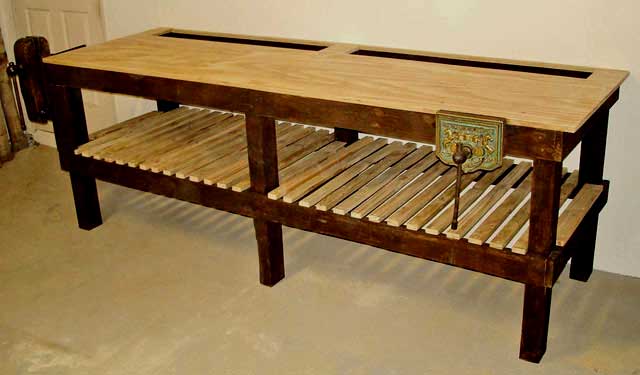
I prefer saying it with pictures. So here goes, your next workshop table/coffee table or the ‘anything else’ projects you may pick on. It is good to tell you, that I always use screws and waterproof glue for construction.
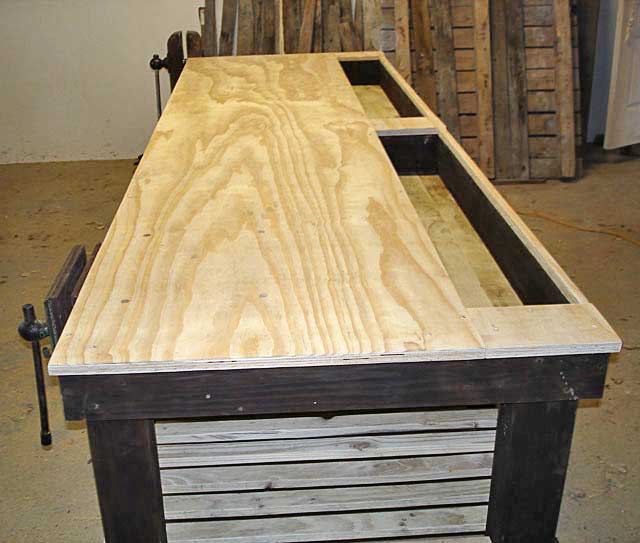
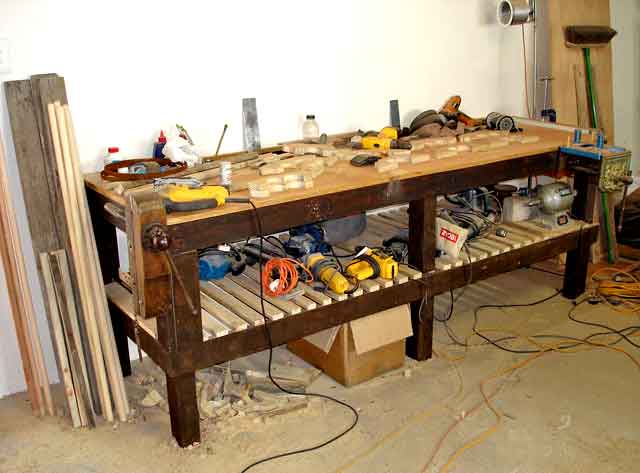
As you may have noticed, the top is not made of pallets. Here I used laminated shutter board (¾” pine plywood) size 4’ x 8’ (1.22m x 2.44m) exterior grade plywood, used in the construction industry. These boards are great for size and they can take a lot of moisture without warping, giving you a clean surface to work on. Also cheap to replace. Transported this piece on the roof of the car, with foam sponge protecting the roof. Because of the table’s join in the middle, this board makes it a lot stronger.
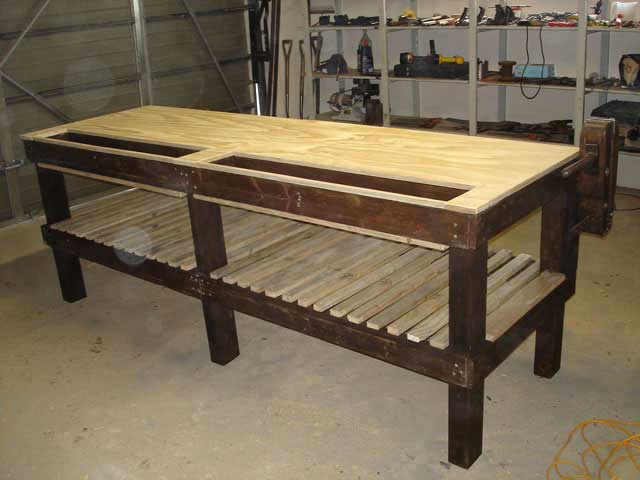
The dark colour is stain on the wood. This stain is made using potassium permanganate mixed in warm water. I make to the shade I like. You can get this from any pharmacy/druggist – careful, this is very poisonous if ingested (swallowed). Could not resist a good buy from a shop closing down selling it’s racks, as you can see in the background.
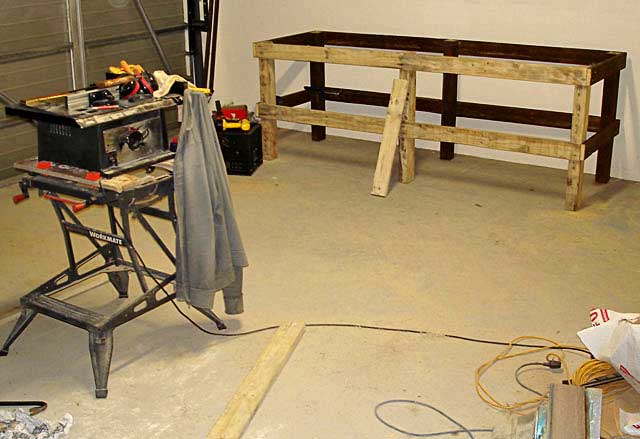
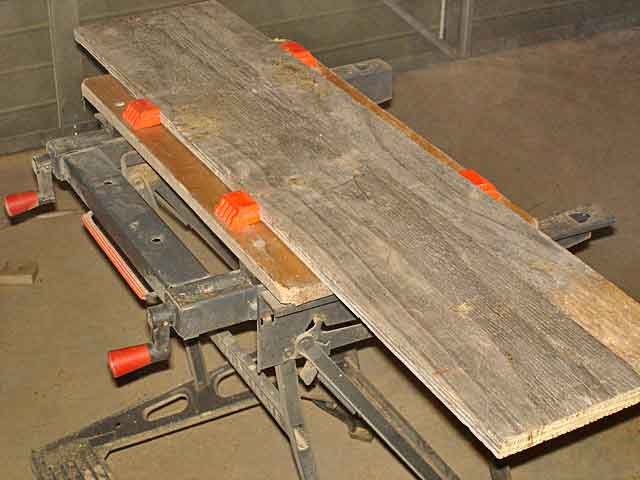
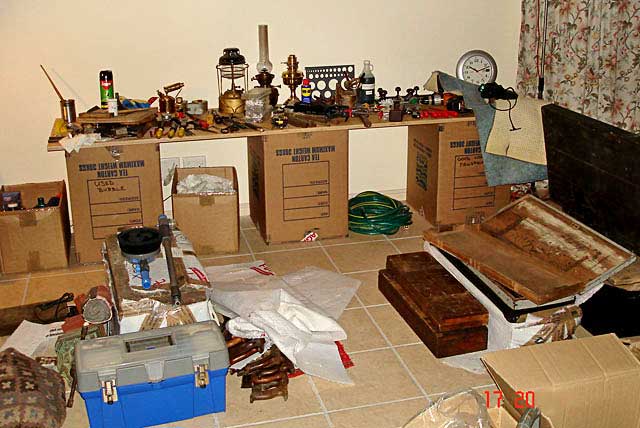
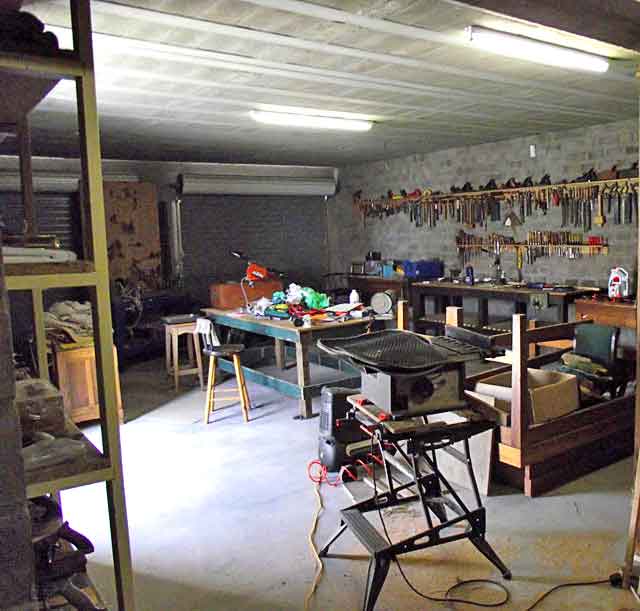
Having had my tools shipped from Scotland, this is where I begin a new workshop on the West Coast of South Africa. Needing a workshop table first, I get pallets and unpack my tools. I have a garage but no furniture. So this is how this project begins. On the floor where I work off boxes, milk crates and makeshift pallet tables or the floor and a Black & Decker Workmate for clamping needed tools, to make a pallet workshop table. Then I can build our needed pallet furniture while we sleep and eat on the floor. Feeling sorry for us;-)
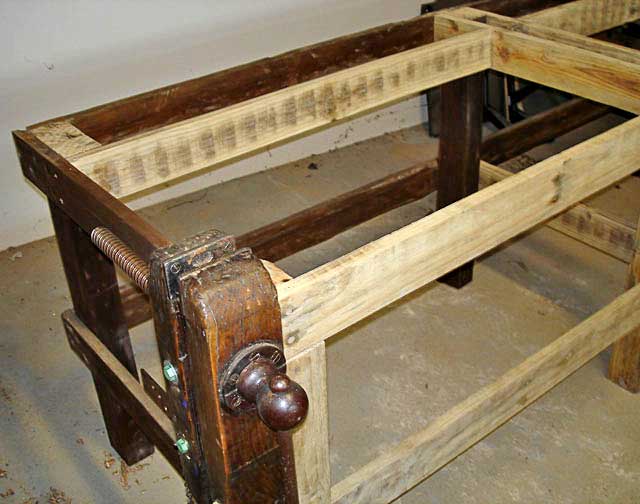
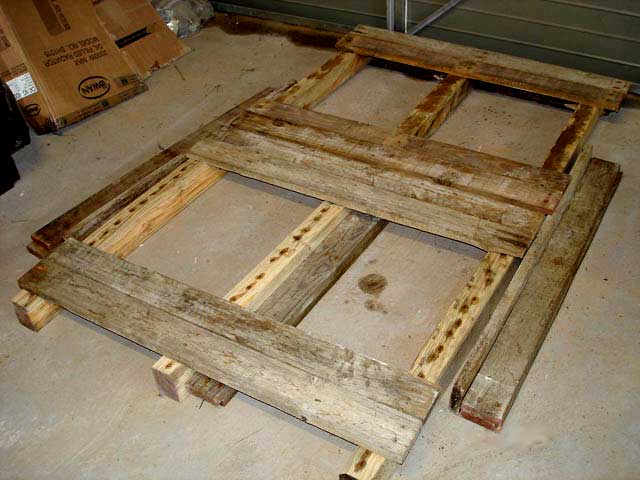
The outer frame now gets the stabilizing inner wood cross struts.
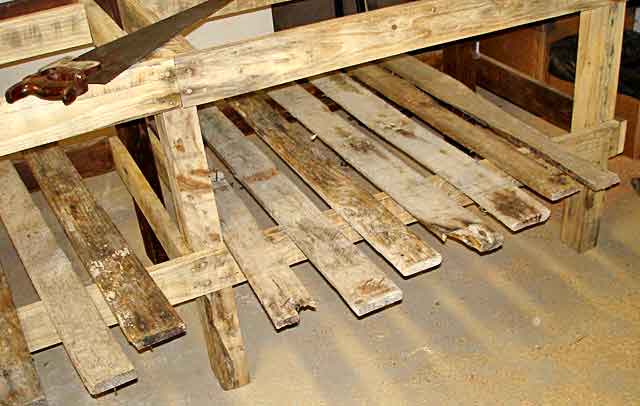
Here you can see the strut construction.
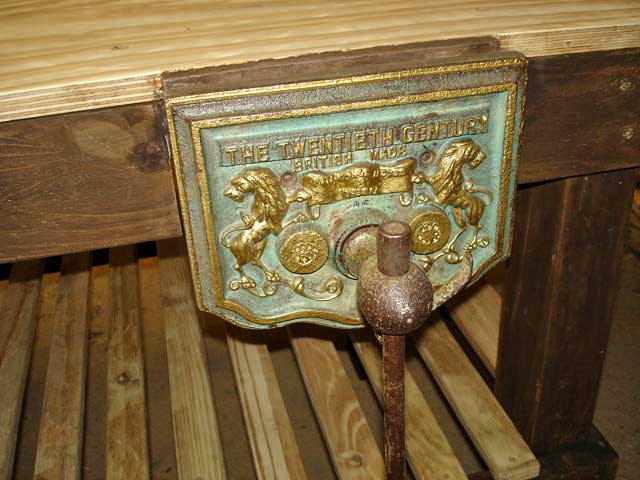
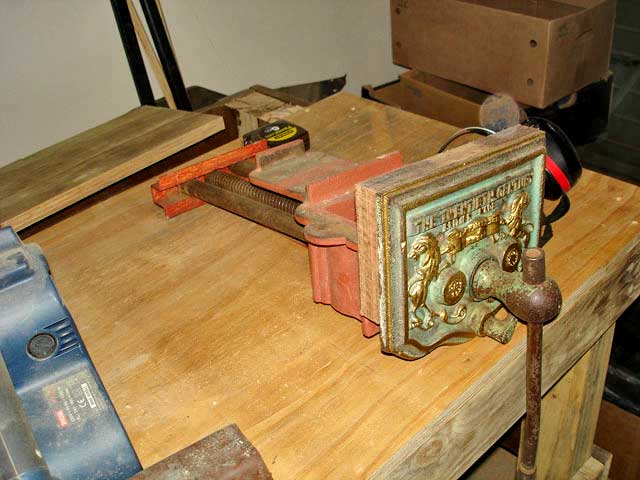
This vice has wood inserts to extend up to the edge of the table on the right. (not fitted here)
This was a larger piece of ply driftwood found on the beach – supplied by providence.
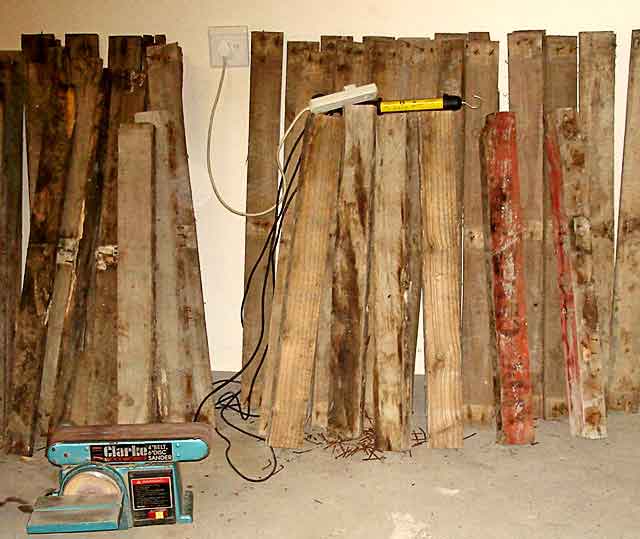
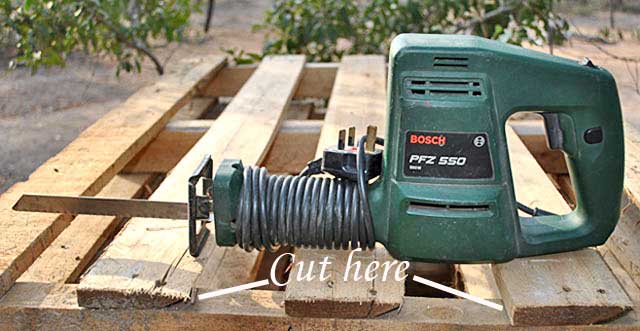
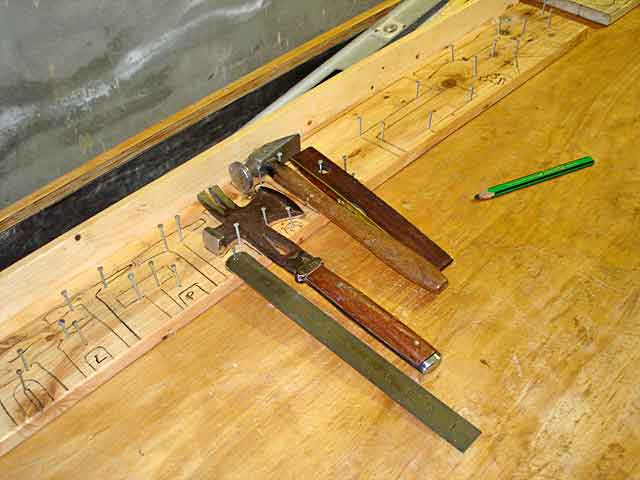
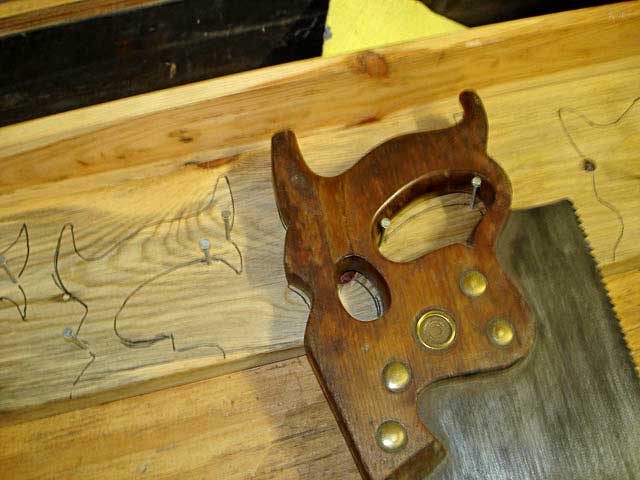
Here is your multipurpose weapon of choice to attack all the nails you will ever have to face in a pallet. Cut them between the planks and the blocks, using a broad metal cutting blade. The one above has done about sixty pallets and is still sharp. Then hit the stubs into the wood with a metal punch which you later fill with wood filler. Make wood filler from the sawdust out of the belt sander’s bag using sanding sealer mixed into it – dries fast and hard to the colour of your sawdust and sands well. Obviously, never plane this wood. A tip here is to run a magnet over any old wood you intend to plane while holding it vertically inclined. The magnets I have used for years come from the back of a condemned sound speaker. When the magnet sticks to the wood, you have metal inside. Sadly, you don’t get magnets for stones in the wood! Never plane pallet wood, only sand it.
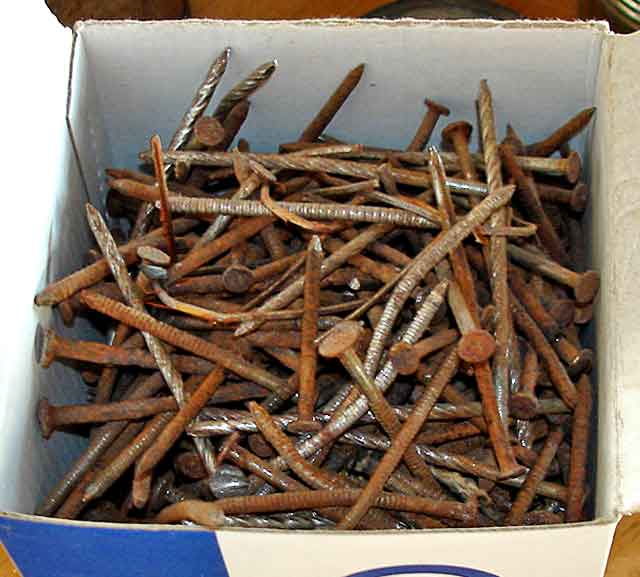
You can see why these nails will break your pallet wood on extraction. So cut the suckers.
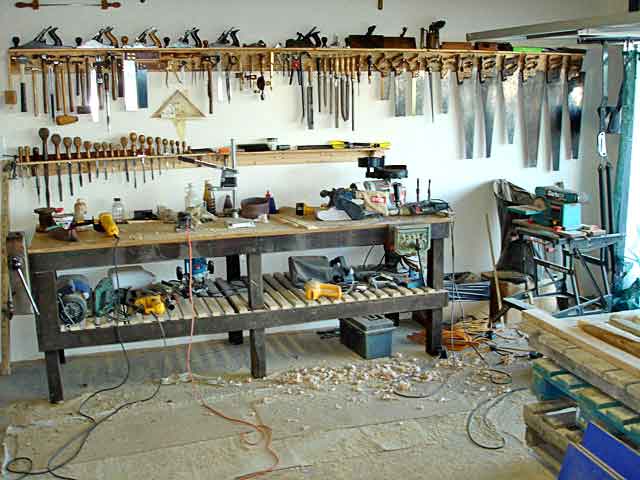
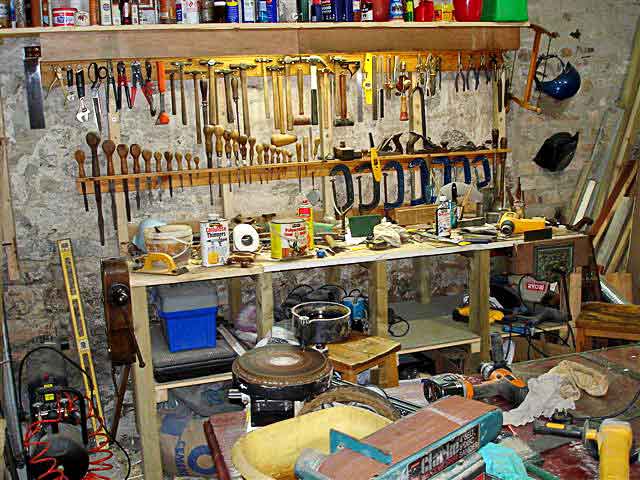
Make your tool rack with a top shelf. This is useful and keeps your rack stable for all the weight of the tools. Easier to make these before you drill them to the wall. A useful tip is that you can remove pencil marks with lacquer/cellulose thinners.
Thought you might like to know that this table, I built in an old 1700’s stone built, goat shed in Scotland, using discarded larch fence posts, cleaned up. First had to pour a concrete floor.
Here I am making quilt racks or if you like, towel racks from pallet wood. All the rounds are made using the Clark table sander, because I never had a lathe at this time. This story, next time I can steal space to write here.
Video run time: 8:28 min
Till next time, Moz.

